I have decided to make the jump from bottling my beers, which is a massive pain in the ass, to kegging my beer. Every book I have read about brewing and kegging has its author crying why, oh why, they didn't keg sooner. I had the same reaction. Where the Hell was I on that one?? For example:
Bottling requires cleaning and sanitizing the following: 45-50 bottles, 45-50 caps, a bucket, a racking cane and related equipment, a small tap system for the bucket, a line for the beer, and a bottle filler. Then, you fill and cap every single bottle, and wait at least 2 weeks, usually more, for the beer to condition in the bottle.
Kegging requires cleaning and sanitizing: a keg, 9 small, easily-removable keg parts, and racking equipment (3 tubes, essentially). Get the beer into the keg. Chill the keg. Force some carbonation into it. Drink.
So I have the keg and keg parts now, and they are cleaned. But what I lacked was a suitable kegerator. And so we arrive at the subject for today's post: Smitty's 30-minute Field Expedient Kegerator, or, How Smitty converted an ancient (and free) dorm fridge into a kegerator.
First, the fridge:
 I understand it is inadvisable to keep the CO2 tank in the fridge with the keg. This means I have to run a line from my CO2 tank outside the fridge to the keg in the fridge. Enter an 11/16" borer bit and 2 rubber electrical grommets.
 I first measured exact center for both the top of the fridge and the inside top of the fridge, then marked a space 2" toward the back of the fridge from each of those spots. Then I drilled with the borer up through the plastic interior, then down through the sheet metal top. Voila'! A hole! (The dark half-moon you see is my fingertip, showing the hole goes all the way through)
 I slid the 2 grommets over the end of the CO2 line that connects to the gas tank (NOT the keg...that's a huge piece that stays INSIDE the fridge!!); 1 for the hole on the inside of the fridge, one on the outside. Wiggle wiggle, shove shove, and the grommets and tube are in place! Here's the outside:
 And the inside:
 And that's it. I wait for the caulk to cure this evening, and tomorrow, I will keg and chill the beer, force-carbonate, and I figure by Friday, I am drinking my Belgian Cherry Dubbel!
More on the kegging process and forced-carbonation process tomorrow.
Read more...

 Yummy. Smelled like tart cherries as I filled the keg. These kegs fill and cap so easily:
 And look! The keg fits!
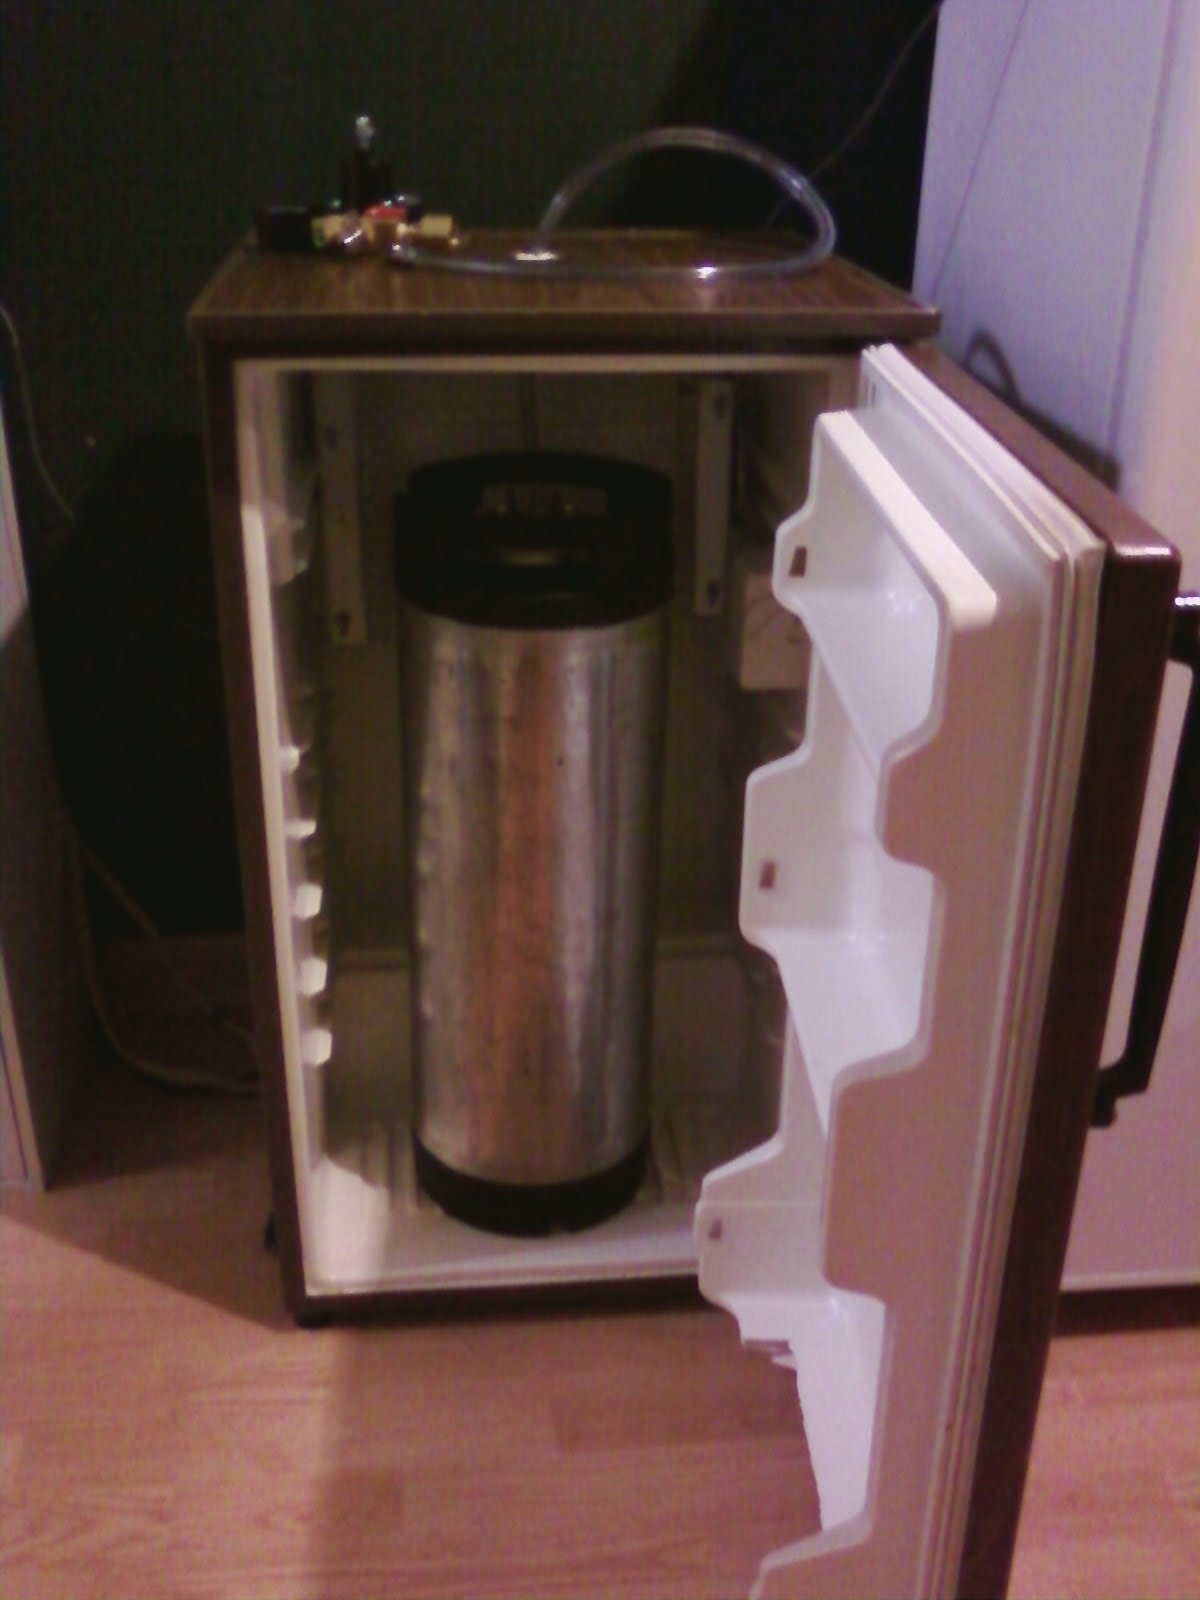 And here it is, all hooked up:
 With the gas hooked up, I am carbonating the beer right now. Sopor taught me the brewers way to cheat a bit to be able to drink faster. What I am after is a beer with a certain level of carbonation; in this case, 2-3 "volumes" of CO2 for this Belgian-style ale seems to be appropriate (2-3 volumes = not very fizzy, but some fizz for sure), which, in a fridge set with my digital temperature gauge at 45 degrees, is about 15 pounds per square inch.


